Monday, February 11, 2019

The Battle of Neerwinden 1793: Charles' blooding with commentary below

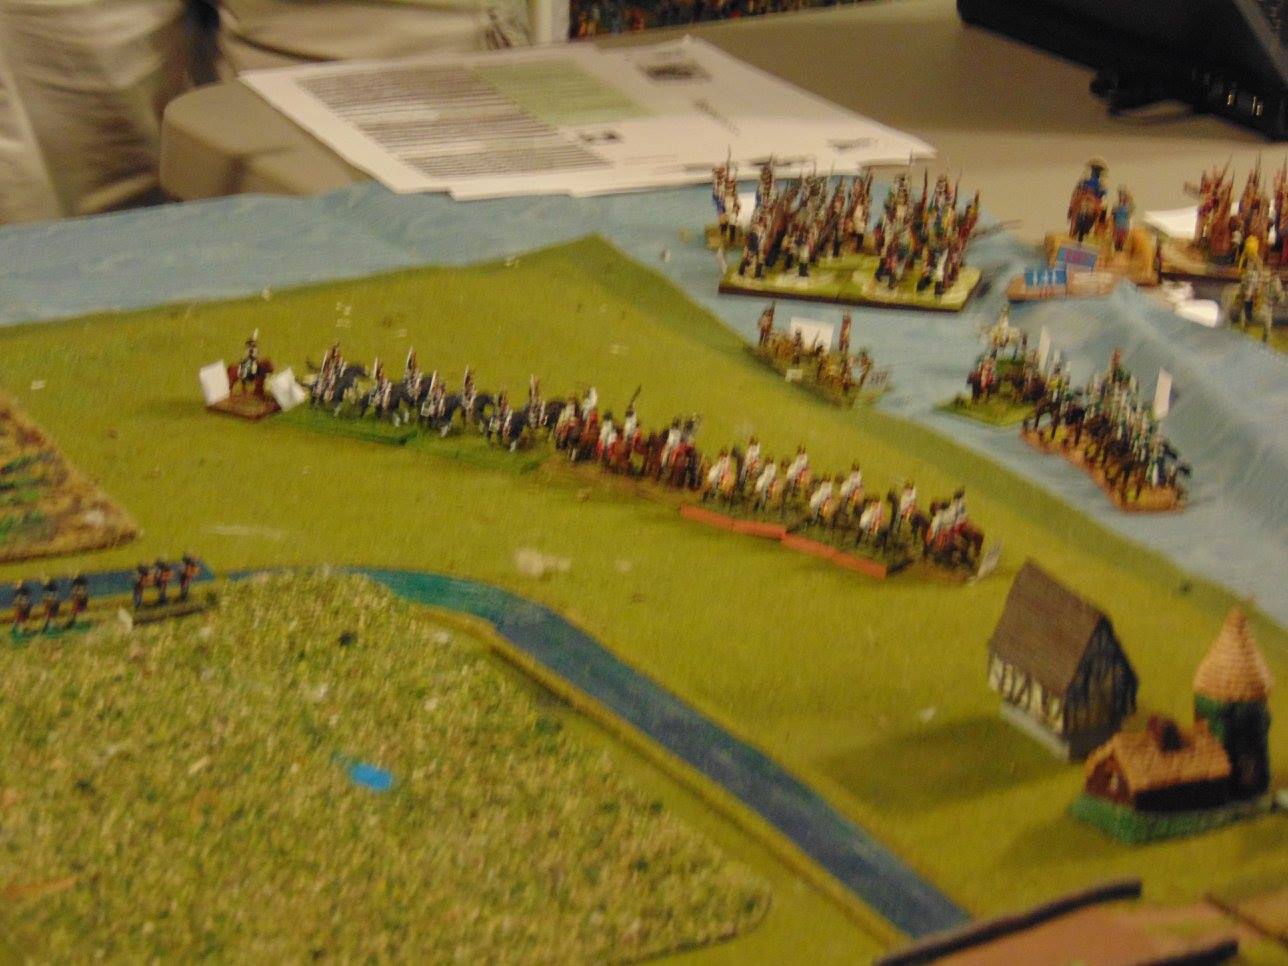
French press the Austrian advanced guard.
Charging the guns.

Combined arms assault going in.
En event, hit their flank! The French flee.

Who is next?


That didn't work out as planned.  The lonely Austrian Cheaval-leger sees off the French dragoons.
Not this time.


The Austrian light troops continue to hold up the French center left advance, helped by the terrible terrain.


Mark's turning movement meets resistance.

Opening moves.


Steve and Mark square off on the flank
After a furious cavalry battle the French attempt to turn the Austrian front line.

The French masses attempt to turn the Austrian left.

Austrian defense in depth

French regulars (the whites) clash with Austrians.

The Austrian Grenzers withdraw , as do the French Hussars.


Action in the swamp land off the road where Austrian grenzer and jager engage les Blues.

Initial dispositions prior to the cavalry clash.

Les Blues push back the open order Austrians into the swamp.

Austrian dragoons on the losing end of a clash with hussars.


Cavalry against infantry.  
Toward battle's end the French are at the top right of the map unable to break the Austrians in between the stream and the town.
I focus on the Austrian right flank of this battle, where the young Charles, using a group of light troops and grenadiers, defended the Austrian lines of communication and dealt the French left wing commander, Miranda a stinging setback.  Putting the action into context, this was after the French victory at Jemmapes and the follow-on invasion of Holland by Dumouriez.  The Austrians under Coburg forced the French to battle at Neerwinden.  The main road connecting to the Austrian line of supply and communication is an old Roman road slicing through several small villages with swampy terrain to the north and a river with the French to the west.  Charles had 11 battalions and 11 squadrons broken up into several commands.  Miranda had a greater number of troops of lesser quality and training.   In our game the French pinned the Austrian front and sent a large number of their troops on an end run to cut the lines of communication.  The Austrian's thwarted the action by diverting their reserves to hold towns blocking the advance and using the terrain to buy them time.  Miranda left France after the battle and returned to South America where he lead an abortive coup against Spain and started the young Bolivar on his career.
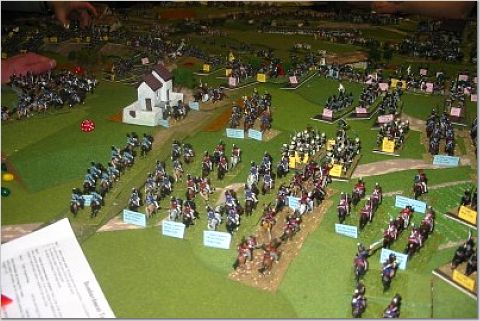
The French deploy on the left and bring their troops forward to pin the Austrians while they maneuver at the top of the photo to turn the Austrian line moving through swampy territory.
 

Friday, February 8, 2019

Pictures of Wargames Past.......Shades of Havoc Past

More photos from the Havoc held at the former Grant Road gym, now removed.   A game of La Haye Saint with Scott Montieth pictured moving some French figures and a bout of Shako with Steve Umbrell.
Steve Umbrell takes center stage in this game of Shako

Mark Fatuso watches as Steve makes his cunning move


Wellington's eye view of the action at La Haye Saint

Scott shuffles his French forward

Pictures of Wargames past....Scot Montieth's Alternative Waterloo

My Friend Scot Monteith ran an Alternative Waterloo at another Havoc....

Where is Ney?

Combined arms

Action on the flank

I forget what made this an alternative Waterloo.  .  I just remember the fun and camaraderie and my late friend Scott.

En Avant!

Big Battle!

Pictures of Wargames Past.... Honor and Courage Waterloo at Havoc

I found a treasure trove of old pictures from wargames past and thought I might add them to my blog.  Here goes.  The first series of photos come from a game of Honor and Courage Napoleonics designed by my good friend Matt Iverson.  This was Waterloo played at a Havoc Convention at Fort Devens where I work. 


The French shelter behind their damaged grand battery.

Matt, on the left, leans into the Allied defense along the ridge.

The French cavalry advance

The British cavalry packed onto the reverse slope

The Dutch Belgians and Nassauers anchor one flank

The ridge at Waterloo

The conflict rages

Chain of Command France 1940 Campaign at Old Colony Wargame Club

It's 1940.  While German engineers work to restore a damaged bridge, forward elements of a German Motorized unit, sans vehicles, are under orders to clear two of three French controlled areas and exit a unit off the board.  After a well played patrol phase the game begins.  Tom Desmond created a beautiful looking French Village.  After having their ability to call in artillery from off board frustrated by the French judicious use of chain of command dice to interrupt their efforts, the Germans, mindful that this is a campaign, chose to cut their losses and withdraw. 
The beautiful village of Martini sur Desmond

Beware the killer jambon! The cows didn't fare too well in their presence.

Wednesday, January 2, 2019

Obiarschina 1812

This scenario is taken from Michael Legrand's new Carnage and Glory Scenario Book for the Northern wing of the French invasion of Russia (1812).  The scenario book covers the clashes and battles of the Franco-Bavarians under Oudinot and later St Cyr (the Owl) as they cover Napoleon's left flank during his advance on Moscow.  Wittgenstein advances on the French and covers St. Petersburg by doing so. 
In this action GM Kunliev leads Wittgenstein's Advanced Guard following up on General of Division Legrand's retreating French.  After retiring for a few days the French turn to face their pursuing enemy at Obiarschina. 
Kunliev's Advanced Guard moves on to the constricted terrain in maneuver column.
The Russian cavalry deploy into extended order and enter the protection of the woods to avoid the batteries lining the high ground to their front.
 

The French begin to move off the ridge, taking care not to mask their batteries.  Legrand's division of 4 brigades of infantry and Castex's cavalry brigade have changed their orders from defend and support to attack!
The crossroads showing the Advanced guard cavalry of Cossacks and Hussars in extended order in the woods while Leo's Dragoons approach in maneuver column down the other road. 

The Division batteries on the crest of the hill. Already the French advance is beginning to obstruct the guns.

 
Peter runs the computer under the watchful eyes of Napoleon himself.  Rich contemplates his next move.

Russians continue to use the cover nature has provided. 
Things begin to bunch up on the French left
The action begins with a cavalry melee between three French Chasseurs a Cheval (CaC) and two Russian Dragoon units.
Close up of the cavalry clash as the troops move closer together.
The French infantry move forward.  The guns are masked.
The Russian Commanders.  Mark has the infantry, Leo the dragoons, and Steve the Advanced Guard cavalry.
Steve's Cossacks and Hussars in extended order attack a French battalion in Division column along with a Russian infantry battalion in column.  The Coordinated attack in the woods causes the French to fall back prior to melee.
Rich's CaC falter in front of the Russian horse artillery battery Leo has deployed whilst his dragoons also falter in front of the French infantry in line.  Ouch.  One of Leo's dragoon units has withdrawn to the right.
The commander's contemplate the action.
Mike deploy's has CaC squadrons into extended order in the woods on the French left.  Note the Russian horse battery is in play and the CaC in extended order on the French center are masking the infantry as Rich pulls back to the wood line.

Cavalry battle it out in the woods.  The Grodno Hussars are rated as crack versus the CaC who are veterans.  The hussars prevail with minor casualties on both sides as they are in extended order.
I made a mistake as GM and allowed the cavalry to charge out of the woods.  After rereading the rules I determined that this is not allowed and it seems to make sense to me.  
The CaC retreat behind the safety of the guns to lick their wounds and recover command integrity. 
The guns are finally unmasked.  Rich has established a defensive line on the French right, the French center and left are in disarray.  A major Russian victory has been achieved.  The French will not be able to secure their territorial objective of driving the Russians from the board. 
 
A fun and challenging game.  The terrain (nice job constructing this Steve Umbrell) provides a real challenge for the gamer.  I am looking forward to playing this scenario again now that I have contemplated the terrain and seen how a different commanders are approaching this puzzling scenario.