Monday, February 25, 2019

Bunker Hill part II

The British flanking march was successful.  Bill's riflemen put up a 3 to for turn fight to hold a barn on the flank while the howitzer and 12 pounder whittled away at the colonists holding the redoubt and barricades.  Mark advanced along the British right flank, slowing bringing his 6 pounders in to canister range.  Steve shifted to the center and advanced toward the redoubt.  While I swung my troops swung round to make a colonial sandwich and hit the redoubt from multiple sides.
The fences go down as Steve and my troops advance on the redoubt along with Pete's grenadiers. 

The hard fought battle of the barn where Mark's rifles held up Pete's flanking maneuverer for 3 to four turns. 

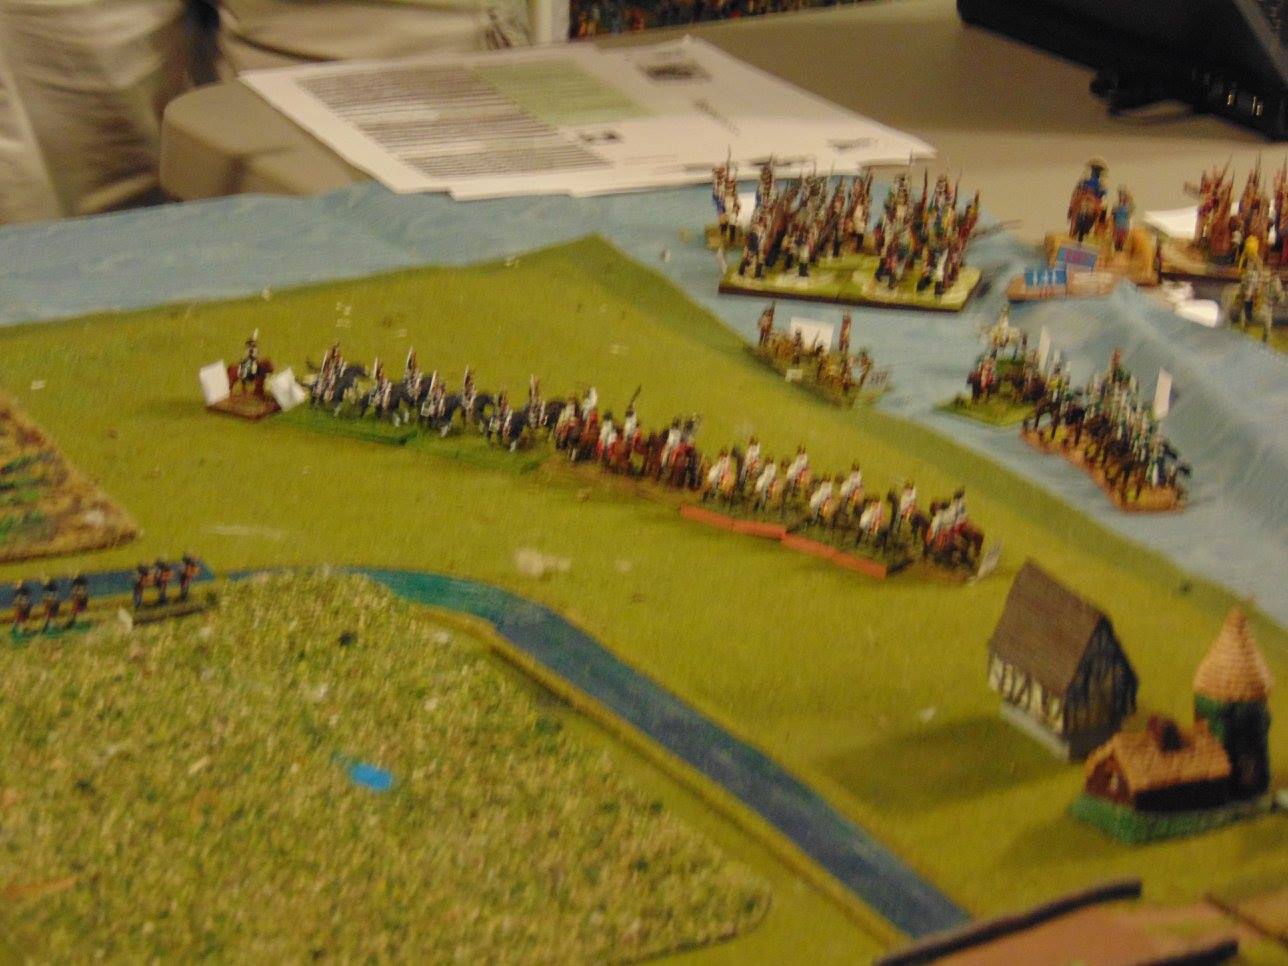
Pete's grenadiers assault the redoubt while Steve and I bring ours forward to assault the redoubt.  Our guns have caused one unit to route and Mark is moving forward on the right.  Bill took the rebels from the fletches and moved forward to cover the barn and the colonist's right flank.  Note his unit in the lower left taking pot shots at the second British flanking battalion.

Pete finally chased the rifles out of the barn. Bill continues his efforts to stabilize the Yankee right.

Pete's grenadiers are down to one figure when Steve piles on.  My lights advance on the lower side of the redoubt. 

Steve's artillery kill the second gun (the one with two caps on it) while my lights clamber over the walls.  I think we may have not done this part correctly as I don't recall receiving fire from the artillery. 

Game's end with the colonials on their right gone, Pete's unit in retreat and the second holding the barn.  We have taken the redoubt.  Our game master declared this a British victory.  It being the first time the British had achieved this result without multiple assaults.
Our decision to burn Charleston and make a flank march proved to be very effective.  It forced the Yankee's to shift their troops and created opportunities for Mark and Steve to advance on our right and center. While Pete's grenadier's ended up killed to a man, it enabled Steve and I to get into the redoubt and take the hill.  A fun game, great terrain and well fought. 

Bunker Hill Game

The Niantic Game Club put on the Battle of Bunker Hill at Fall In last year and won multiple awards for the terrain and the game itself.  When I saw they were putting on Bunker Hill as part of the Dick Bryant Courier tribute event last Saturday, I made sure to sign up.  Having read up on Major Pitcairn recently, I decided I would join the Brits for this event and was lucky enough to secure Pitcairn's command.  Mark M., Steve U., Pete E., and myself were the British. 

Initial disposition.  Charleston is in the lower left, Breed's Hill with the redoubt (unnamed in 1776 and later mistakenly called Bunker hill), the Brick kiln on the right.  Pitcairn commands the two battalions on the British left.  I also was given the British Light unit in the   second row center column. 

Colonist center position showing redoubt and fletches.

Game Title

A close up of the British left flank from within rife range of Charleston.  The first turn my Marines were hit by rifle fire, anything but snake-eyes and they would be fine.  Naturally......
We ordered the shelling and burning of Charleston.  Early urban renewal at its best.

My troops all dropped their back.  You can see my routed marines cowering on the beach after Bill's riflemen greeted them a bit too warmly on turn 1.

Our respected colonial foes, Dave, Warren and Bill watch as the fires engulf Charleston and Pete E's troops march off on a flanking maneuver

Many of the fenced in areas had high grass which slowed down our advance and caused fatigue.  Pennies were used to show fatigue.  The 6 pounders were found to have 12 pound shot and thus rendered unfit for service unless moved into canister range. 


Taking down fences accrues fatigue which can be recovered by sitting still for a turn.  At the redoubt our 12 pounder and howitzer haven gotten the range after
moving forward.  Two casualties a turn begins to wear down the colonists.

Wellington's Ridge Courier Game Day Best Western Haverhill

Our wargaming friends from Maine ventured south over the border in Massachusetts to hold a game day in honor of Dick Bryant, founder of the Courier Magazine which so ably represented our hobby for over 20 years.  They arranged for a conference room at the Best Western in Haverhill last Saturday and Steve Umbrell and I attended, as our wives were both out of town.  In the morning we played a game named Wellington's Ridge.  It appeared to be Quatre Bras order of battle transposed to the Waterloo terrain with Reille's II Corps versus Perponcher et al, attempting to reserve the field for Wellington to contest the French advance on Brussels.
Sequence of Play

Waterloo terrain, note Hougamont and La Haye Sainte toward the top of the screen.
Our cunning plan was to sweep to the right and roll up the ridge.  The game began with each side being able to deploy one stick (see orange and black item) length from their opening positions as seen ablove.

Steve advances in the center to pin the Allies as I swing around and  down the ridge.

The Dutch Belgians react to our move.  I have two batteries and two divisions, Bacheleau and Girard up on the ridge.  The Allies won the race to La Haye Sainte and Hougamont.  Steve assaults La Hay. 
Girard's Division shakes out into line while sending two battalions to continue  their sweep around the Allies flank.

Advance up the ridge

View from the British lines.  Tom Desmond has taken Hougamont and his troops hold the Allied right.  His cavalry hold ours in check in the center (to the right of La Haye Sainte.

Two battery's hammer the Dutch Belgian left and Girard out flanks them with one battalion while the other on the far right of this picture prepares for a new Allied division. 

The British hop out of Hougamont only to be sent fleeing back in after Steve launches a cavalry unit against them.
Steve advance in the center after taking La Haye Sainte, in order to pin the Dutch Belgians while I roll their flank.

A close up of the bloody angle. Note the red -4and rout markers on the Allied units.

Two Allied regiments have surrendered and a third is on the way .  Steve has taken some punishment but remains relatively intact.  The British cavalry are riding to try to rescue the situation as their new division deploys, delayed by my battalion.

Another view of the action in center and toward Hougamont

Final dispositions and a French victory!

Monday, February 11, 2019

The Battle of Neerwinden 1793: Charles' blooding with commentary below

French press the Austrian advanced guard.
Charging the guns.

Combined arms assault going in.
En event, hit their flank! The French flee.

Who is next?


That didn't work out as planned.  The lonely Austrian Cheaval-leger sees off the French dragoons.
Not this time.


The Austrian light troops continue to hold up the French center left advance, helped by the terrible terrain.


Mark's turning movement meets resistance.

Opening moves.


Steve and Mark square off on the flank
After a furious cavalry battle the French attempt to turn the Austrian front line.

The French masses attempt to turn the Austrian left.

Austrian defense in depth

French regulars (the whites) clash with Austrians.

The Austrian Grenzers withdraw , as do the French Hussars.


Action in the swamp land off the road where Austrian grenzer and jager engage les Blues.

Initial dispositions prior to the cavalry clash.

Les Blues push back the open order Austrians into the swamp.

Austrian dragoons on the losing end of a clash with hussars.


Cavalry against infantry.  
Toward battle's end the French are at the top right of the map unable to break the Austrians in between the stream and the town.
I focus on the Austrian right flank of this battle, where the young Charles, using a group of light troops and grenadiers, defended the Austrian lines of communication and dealt the French left wing commander, Miranda a stinging setback.  Putting the action into context, this was after the French victory at Jemmapes and the follow-on invasion of Holland by Dumouriez.  The Austrians under Coburg forced the French to battle at Neerwinden.  The main road connecting to the Austrian line of supply and communication is an old Roman road slicing through several small villages with swampy terrain to the north and a river with the French to the west.  Charles had 11 battalions and 11 squadrons broken up into several commands.  Miranda had a greater number of troops of lesser quality and training.   In our game the French pinned the Austrian front and sent a large number of their troops on an end run to cut the lines of communication.  The Austrian's thwarted the action by diverting their reserves to hold towns blocking the advance and using the terrain to buy them time.  Miranda left France after the battle and returned to South America where he lead an abortive coup against Spain and started the young Bolivar on his career.
The French deploy on the left and bring their troops forward to pin the Austrians while they maneuver at the top of the photo to turn the Austrian line moving through swampy territory.